📩 Pushing to GitHub
Press that "Go Live" button at the bottom right of your screen to see what you have so far
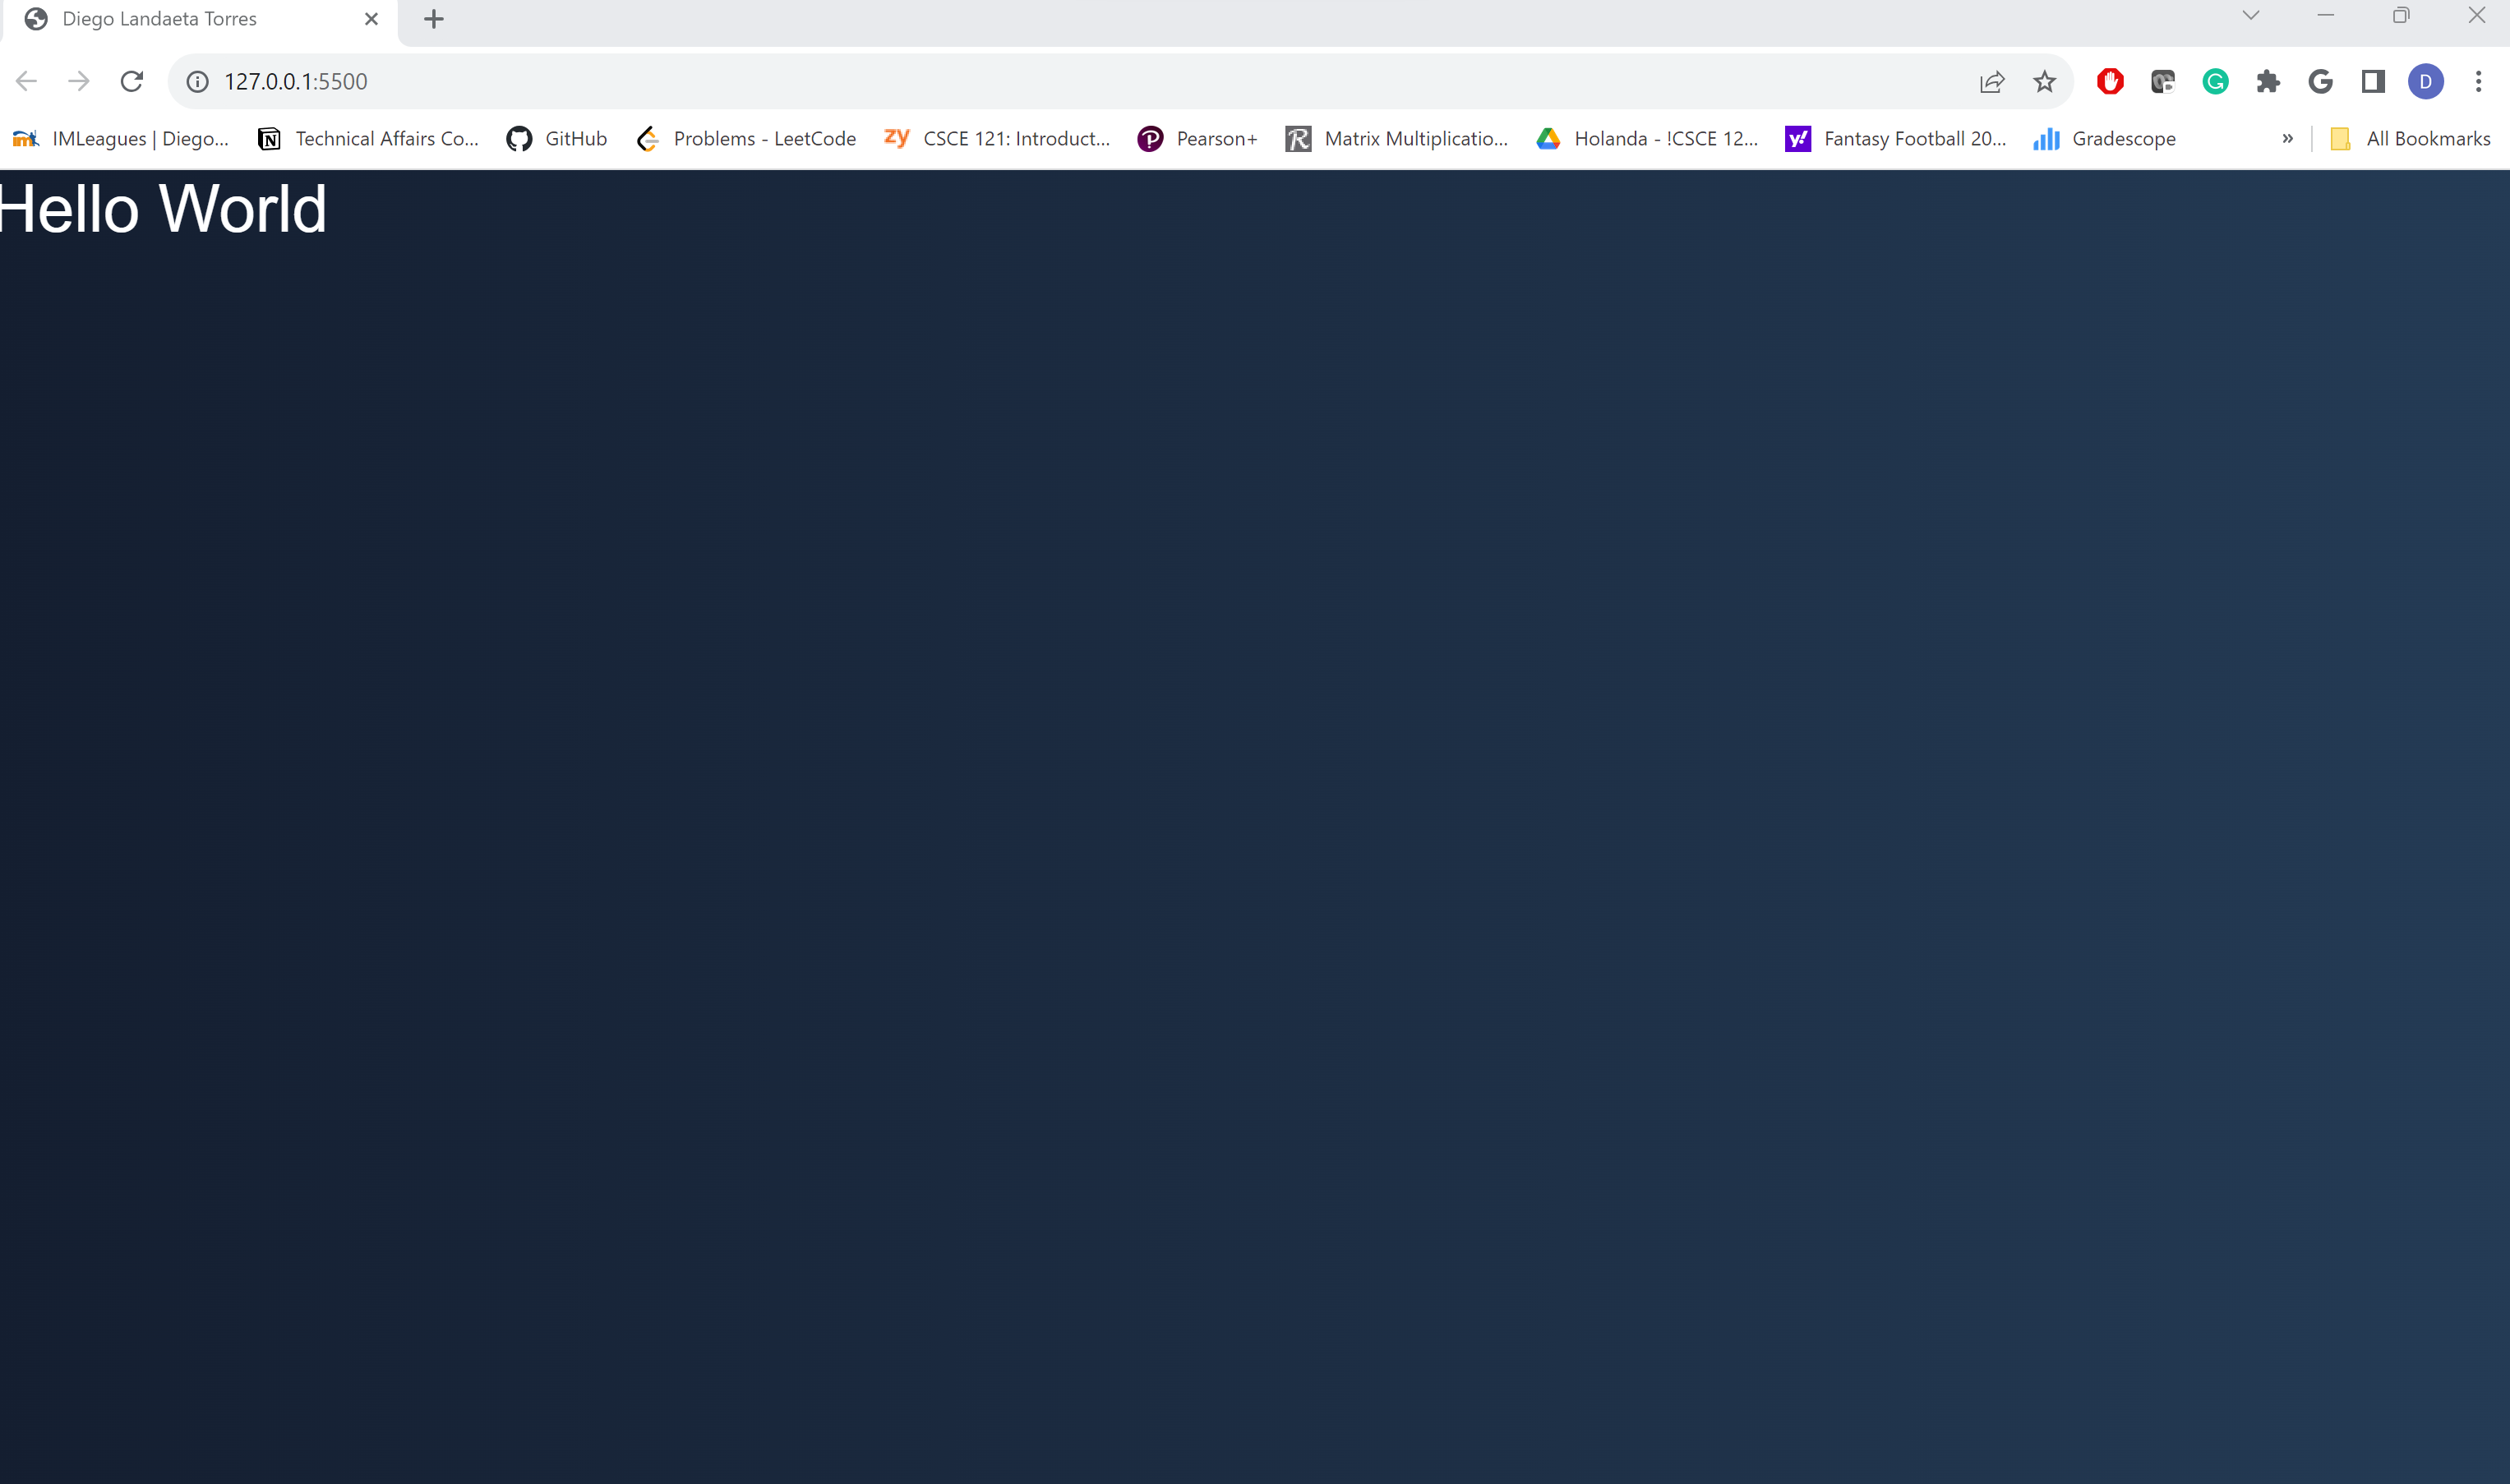
Remember, it does not have to look like this, but this is a general outline of what you should have after completing your first week!
For our first push, we will perform a very important step: set upstream branch on git! Basically, this is saying we're creating a link from this local branch on your device to that of the remote branch in GitHub.
To access your terminal: You can click on View on the top navbar of the screen, then terminal on the dropdown menu. Once we open the terminal, let's make sure we're in Powershell.

From here we will first stage all of our changes by typing in the following command:
git add .
After this, we must commit and add a comment to our commit:
git commit -m"First Commit"
Once we have done both of these steps were are now ready to do push our changes to GitHub:
git push --set-upstream origin <branch name>
Make sure to delete all of <branch name> including <> and put main. This should be the name of your branch unless you have created another branch.
Pushing After Initial Push
After doing what I previously mentioned once, we can easily commit and push changes to our repository using the sidebar. Go to the left hand side of VSCode and press the following icon:

You are going to commit and push all the changes so make sure to stage all of them. To do this hover over "Changes" and press the + button. At the top of the tab write in the message what we did (Ex: Week 1 Website) and press commit. Then press sync changes which will push and pull from the origin.